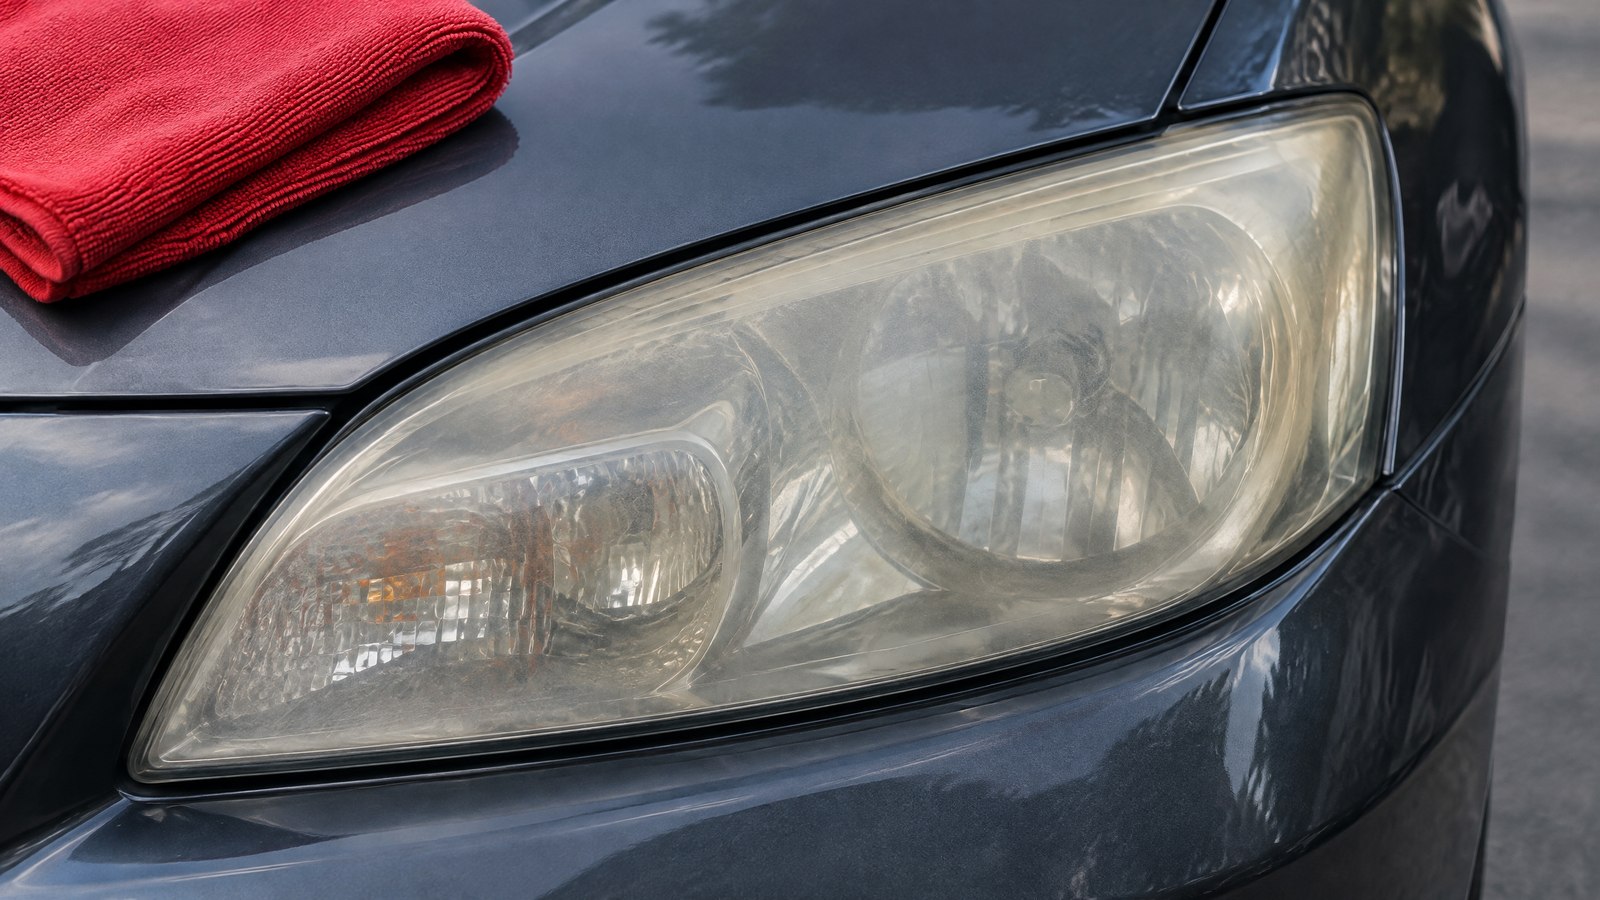
Headlights can turn yellow again after a DIY restoration when damaged surface material remains or the lens lacks effective, compatible UV protection. But not every cloudy appearance is returning oxidation. Road film, unfinished sanding marks, coating problems, and defects inside the assembly can look similar. Identify what changed before repeating the treatment.
Start with a clean, dry lens
Wash the exterior using a vehicle-safe wash product, rinse it, and dry it with a clean, soft cloth. Inspect in daylight with the lights off. This separates removable surface dirt from a condition that needs closer assessment.
Use this checklist before buying another kit:
- Film washes away: Start with routine cleaning rather than more sanding.
- Yellow patches remain: Note whether they match areas that never became fully clear.
- White haze or fine lines remain: Check the original instructions for unfinished preparation steps.
- Peeling or patchy coating appears: Record the products used rather than covering it immediately.
- Droplets appear behind the lens: Treat this as a possible assembly issue, not exterior dirt.
Photograph both headlights after cleaning. For more help locating the problem, see foggy headlights inside versus outside.
Some damaged material may have remained
A lens that looked better after polishing was not necessarily fully prepared. Corners, curves, and areas near the edges deserve attention when reviewing your work.
3M's restoration FAQ explains that leaving degraded coating or surface material behind limits the final result. It also identifies sunlight and environmental exposure among the causes of yellowing and haze.
That does not mean you should immediately use coarser sandpaper. Abrasive sequences differ between systems. Compare your steps with the instructions for the exact product you used, including how that manufacturer describes a properly prepared surface.
Clarity and UV protection are different jobs
Removing deterioration addresses the damaged surface. UV protection addresses continued exposure. A polished appearance alone does not establish that the lens has the protection required by your chosen restoration system.
The SYLVANIA installation guide describes removing damaged material and applying new UV protection. It requires thorough drying for coating bonding and avoiding water exposure until cured. Those requirements belong to that specific kit, not every coating.
Check whether your system included a protective step, whether you completed it, and whether application conditions matched its directions. Use protection explicitly intended for the lens and preparation method. AAA's headlight cleaning guidance cautions against generic clear-coat paint and unsuitable cleaners such as acetone or bug spray.
Use the timing as a clue, not a verdict
If the lens was cloudy as soon as it dried, revisit the preparation and finishing instructions. Some systems intentionally leave intermediate haze that changes after their final coating step.
If it stayed clear before gradually changing, review the protection used and its maintenance directions. Timing alone cannot prove why yellowing returned or predict how long another treatment will last.
A mixed set of products also makes diagnosis harder. Keep the packaging or record the product names, especially if you used a separate polish, cleaner, or coating.
Know when exterior restoration is the wrong repair
Cloudiness behind the outer surface, standing water, cracks, or recurring internal moisture needs a different assessment. Exterior sanding cannot reach damage on the inside of the lens.
Exterior headlight restoration does not repair bulbs, LED modules, wiring, aim, seals, housing damage, cracks, water ingress, or internal defects. A clear-looking lens with poor illumination can still have a lighting or mechanical problem.
Avoid opening the housing or layering on another coating to chase internal fog. Describe the symptoms to a qualified repair provider. If nighttime visibility feels unsafe, have the lighting checked rather than relying on cosmetic improvement.
Questions after a DIY restoration
Does returning yellowing mean the kit was bad?
No. Lens condition, preparation, product compatibility, application, and exposure all need consideration. A photo of the finished lens alone cannot establish the cause or fairly judge a brand.
Should I polish it again?
Not automatically. First identify whether the problem is dirt, remaining deterioration, a coating issue, or something internal. If you are unsure what is on the lens, get an assessment before further abrasion. Once the appropriate work is complete, follow the product instructions and our restored-headlight care guide.
Get a Denver Metro assessment before starting over
Headlight Boost offers mobile headlight restoration in Denver Metro. Headlight restoration starts at $99 for both headlights, with your quote confirmed based on lens condition and location. That starting price is not a universal total.
For an assessment, send Brian clear photos of both headlights, your location, and the products and steps you used. Text (720) 720-4910 or request a quote to discuss whether the visible problem is suitable for exterior restoration.